воскресенье, 1 апреля 2018 г.

40 Recycled Lamps That Are Border Line Genius

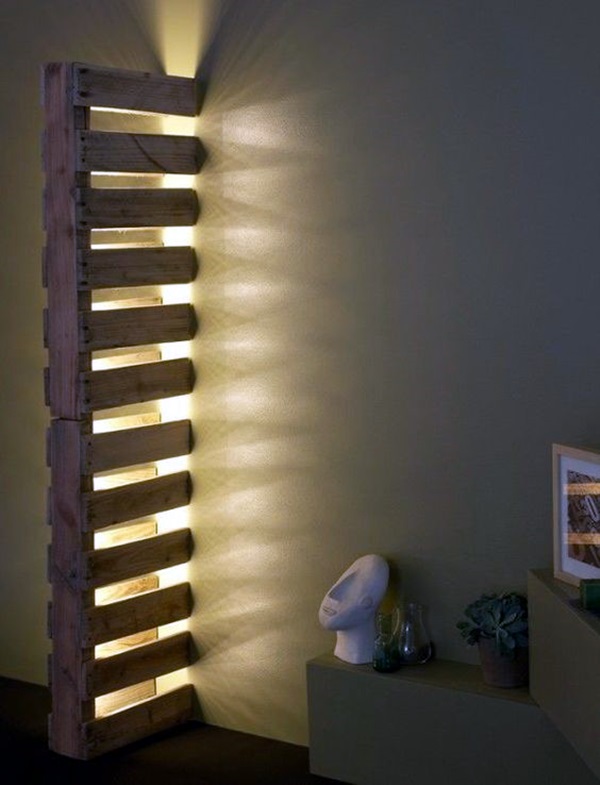
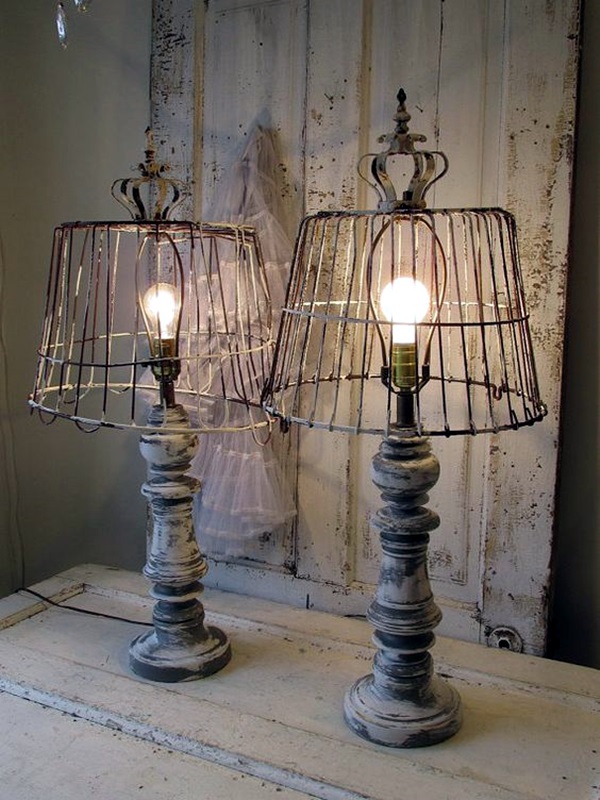
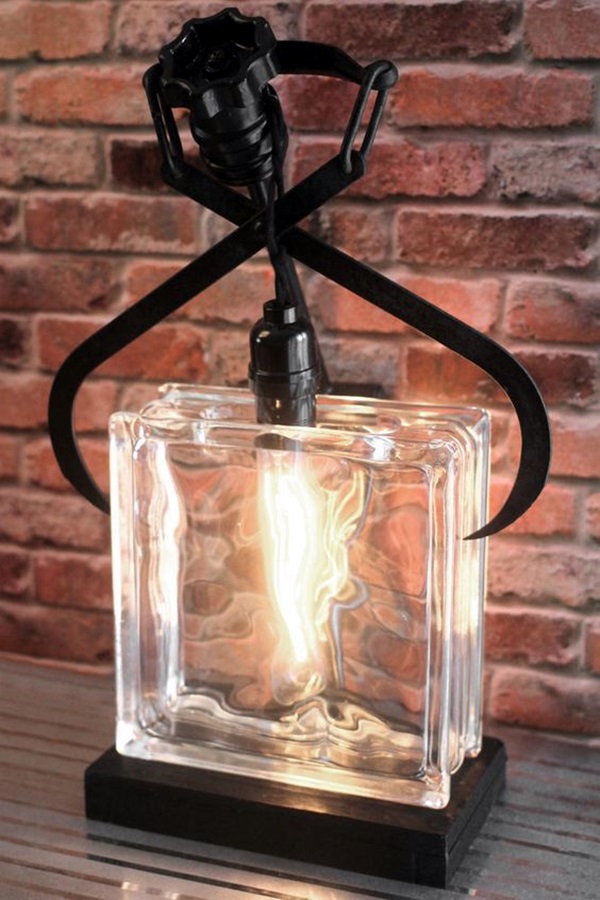
Light is one of the biggest sources of comfort and beauty to a home and that is why it makes sense to arrange lamps artfully in your home. We often tend to overlook or ignore this aspect because we feel that the lamps that you get out in the market are too expensive or too standardized. But what if we were to tell you that you can make cute lamps yourself that are absolutely genius. What is more, these lamps also have the merit of being made from recycled materials that you would have thrown out anyway. Really? Yes, we are serious but before you start jumping with joy and start planning the placement of recycled lamps in places of your choice, we have to tell you that you have to make the effort of learning how to deal with wires and such so that you not only make the lamps work but also ensure that they are safe. Then you can make many types of lamps whether it is amazing art inspired gourd lamps or some other kind. The best part about lamps is that you can have a different themed one for each room.

Recycled Lamps That Are Border Line Genius (7)
.*
TedsWoodworking Plans and Projects
Recycled Lamps That Are Border Line Genius (9)
Recycled Lamps That Are Border Line Genius (10)
Recycled Lamps That Are Border Line Genius (11)

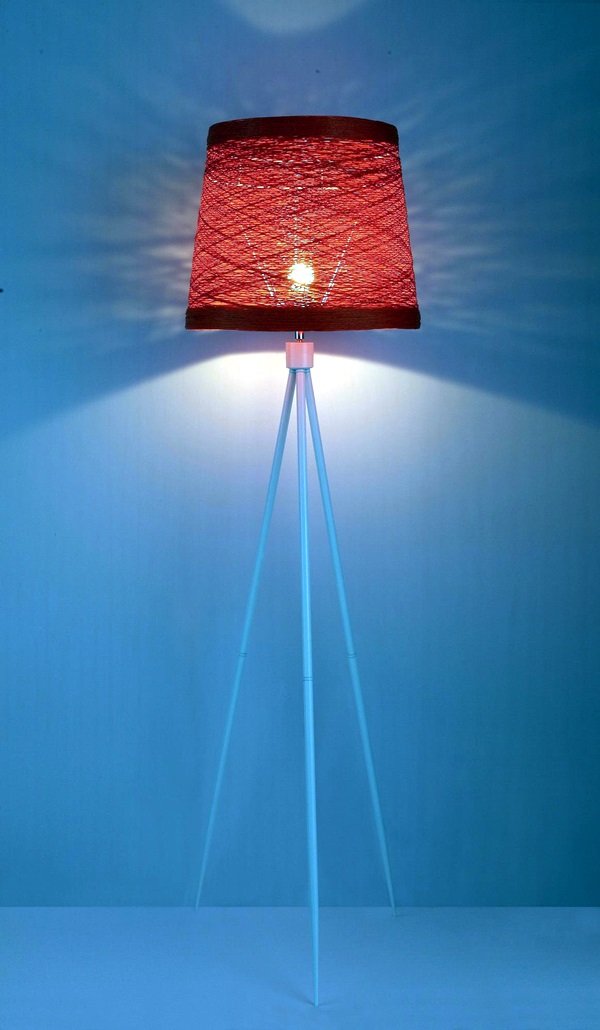
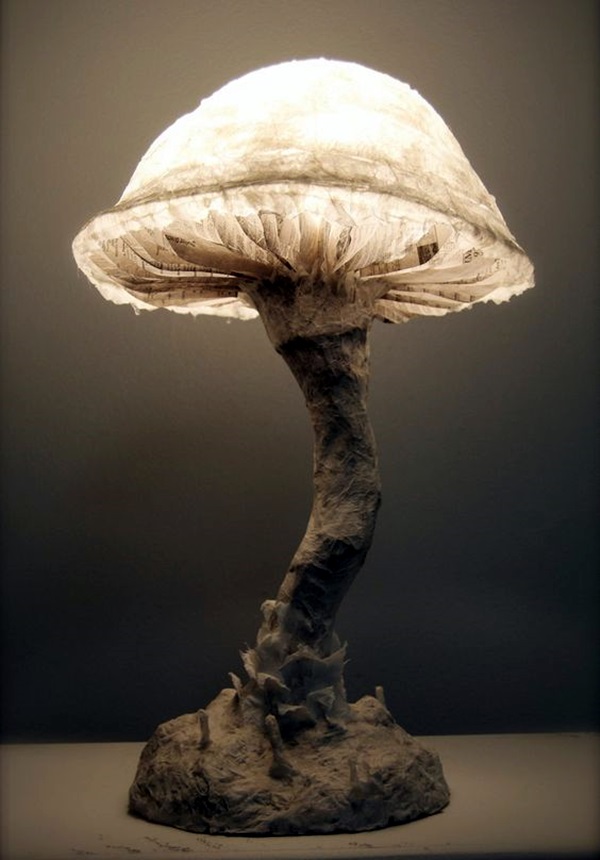
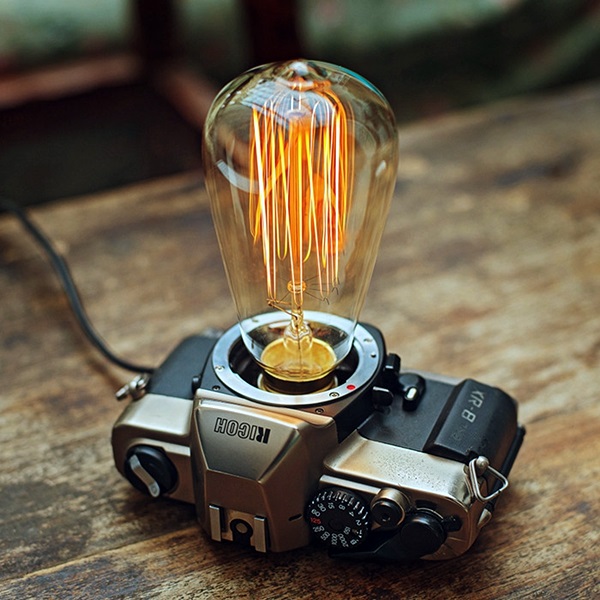
That is not all, you can also have some for the evening use, some for creating a mood and some of the coolest night lamps you can ever see to make each member of the family feel happy and delighted. The thing about lamps is that they are not just the source of light though they do deliver this service, but they also offer means of decoration, tend to make a place look cozier or even set the mood and tenor of a room. There are exceptionally creative lamp designs to decorate your home that you can make yourself to keep you delighted forever.

Recycled Lamps That Are Border Line Genius (12)
Recycled Lamps That Are Border Line Genius (13)
Recycled Lamps That Are Border Line Genius (14)
Recycled Lamps That Are Border Line Genius (15)
Recycled Lamps That Are Border Line Genius (16)

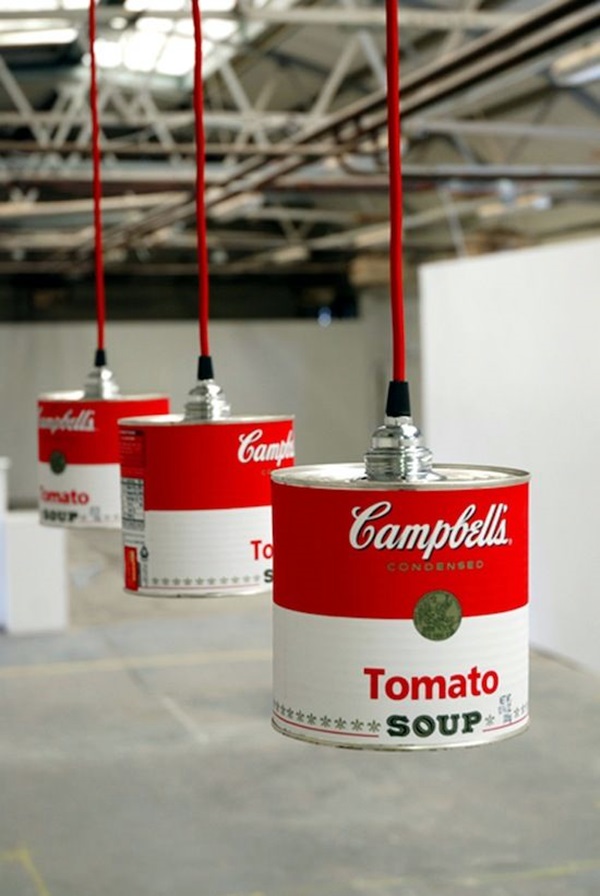
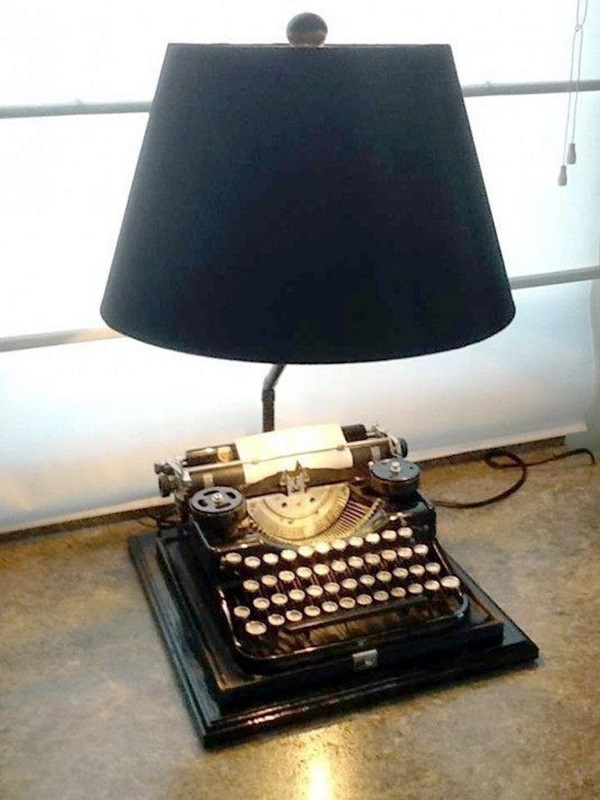
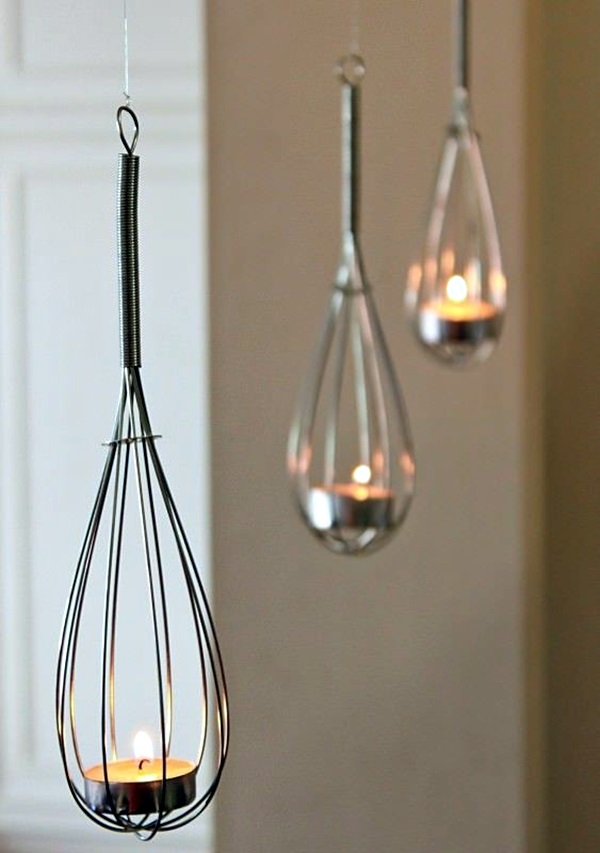
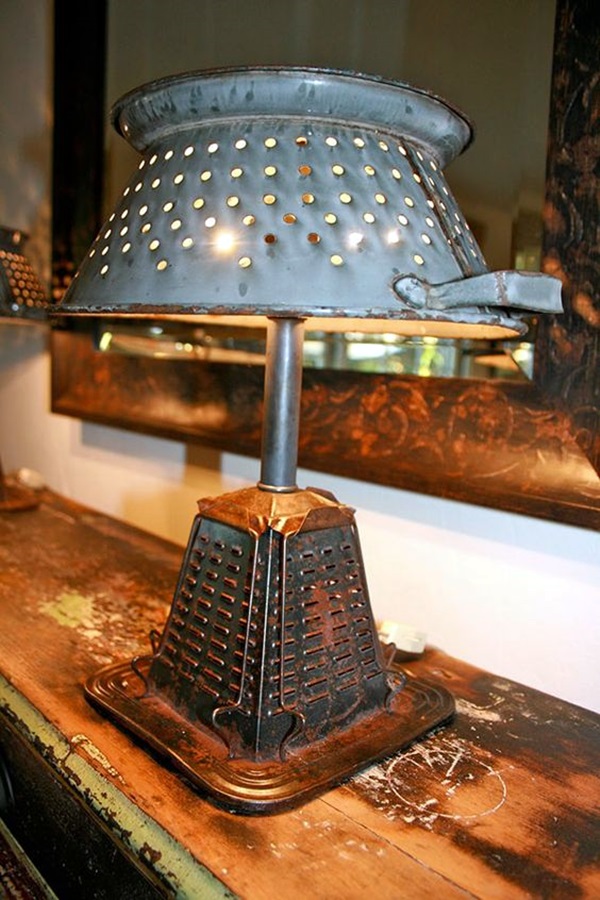
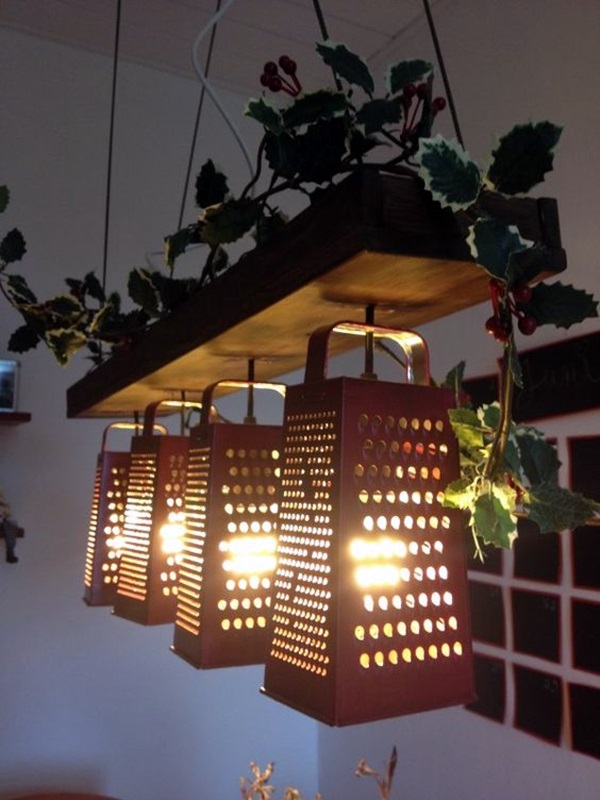
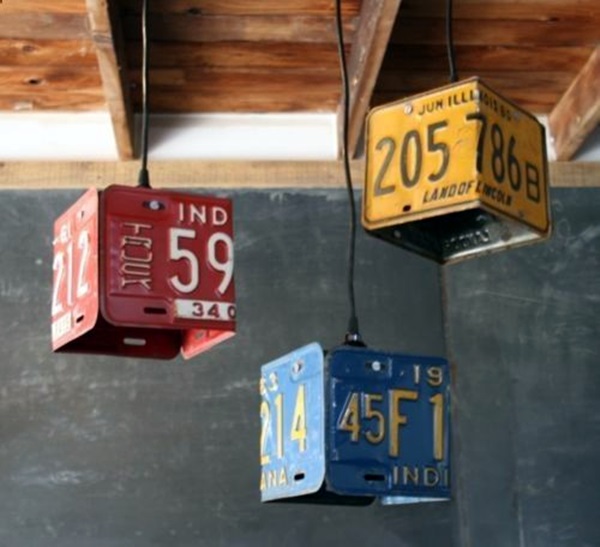
By now we are sure that you are literally sweating with impatience because we are not getting to the crux of the matter – which is of what to make the recycled lamps from. Before you start hopping with impatience from one foot to another, we have to tell you something that will have you feeling stunned – you can basically make recycled lamps from anything. For instance, you have some graters at home that you are no longer using, you will be able to make them into lamps of such beauty that you will want to kick yourself for not thinking of this earlier.

Recycled Lamps That Are Border Line Genius (17)
Recycled Lamps That Are Border Line Genius (18)
Recycled Lamps That Are Border Line Genius (19)
Recycled Lamps That Are Border Line Genius (20)
Recycled Lamps That Are Border Line Genius (21)
Recycled Lamps That Are Border Line Genius (22)
Recycled Lamps That Are Border Line Genius (23)
Recycled Lamps That Are Border Line Genius (24)
Recycled Lamps That Are Border Line Genius (25)
Recycled Lamps That Are Border Line Genius (26)

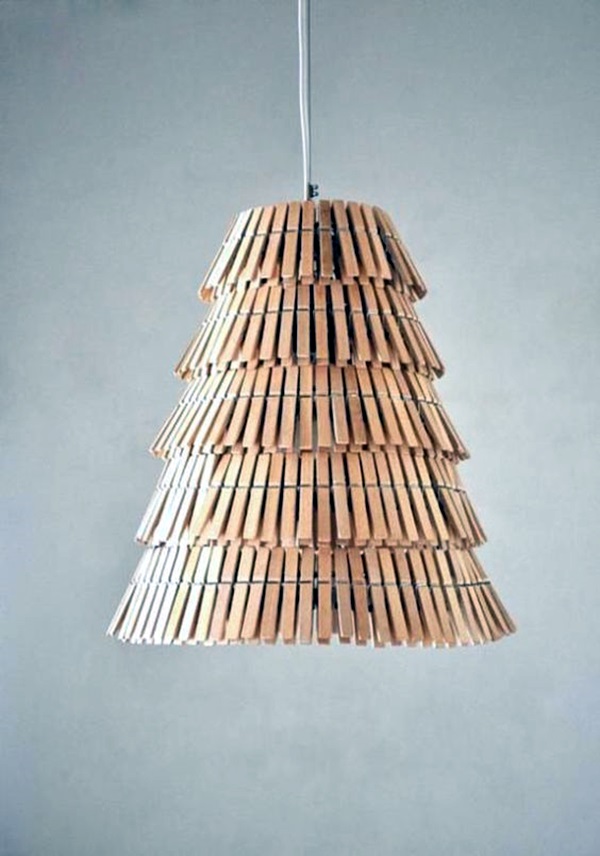
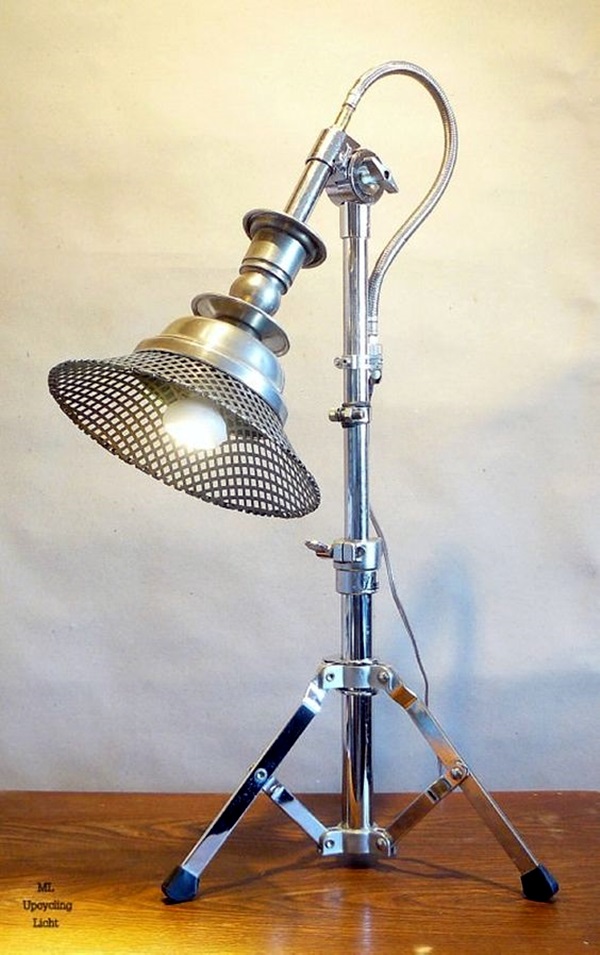
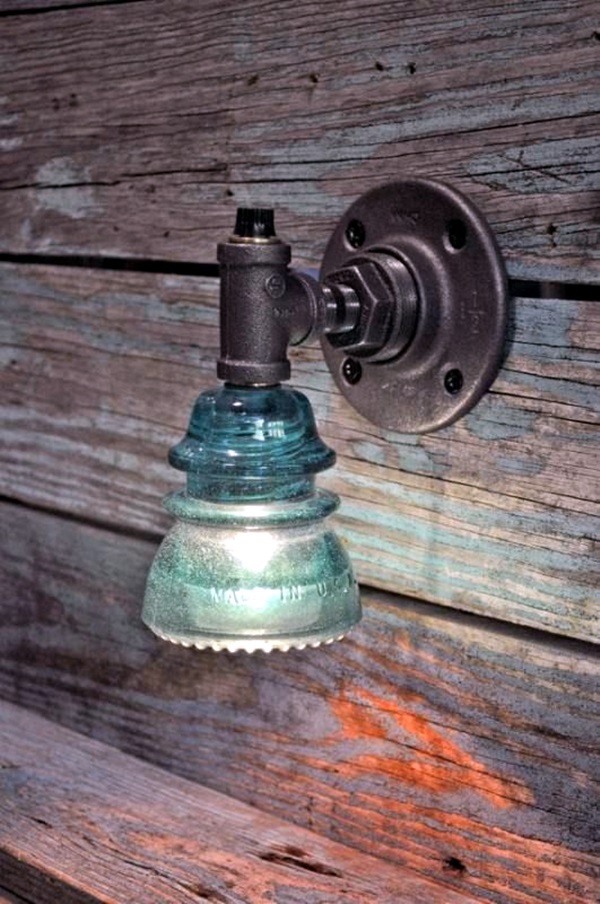
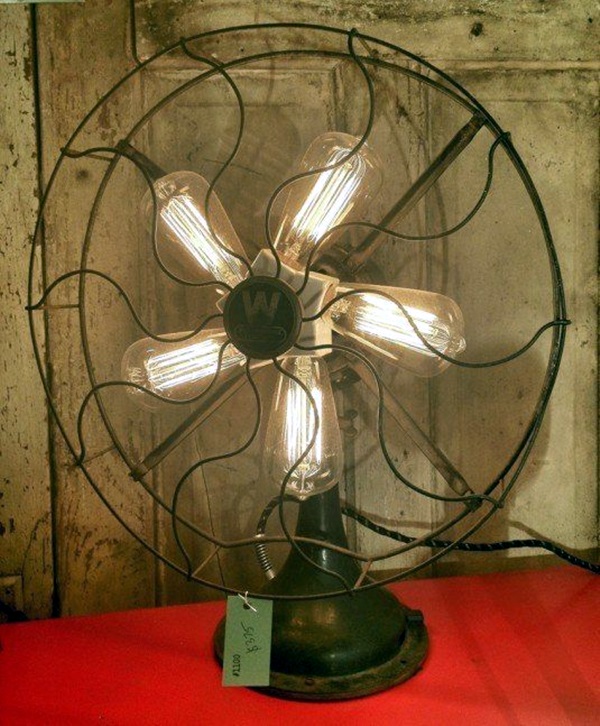
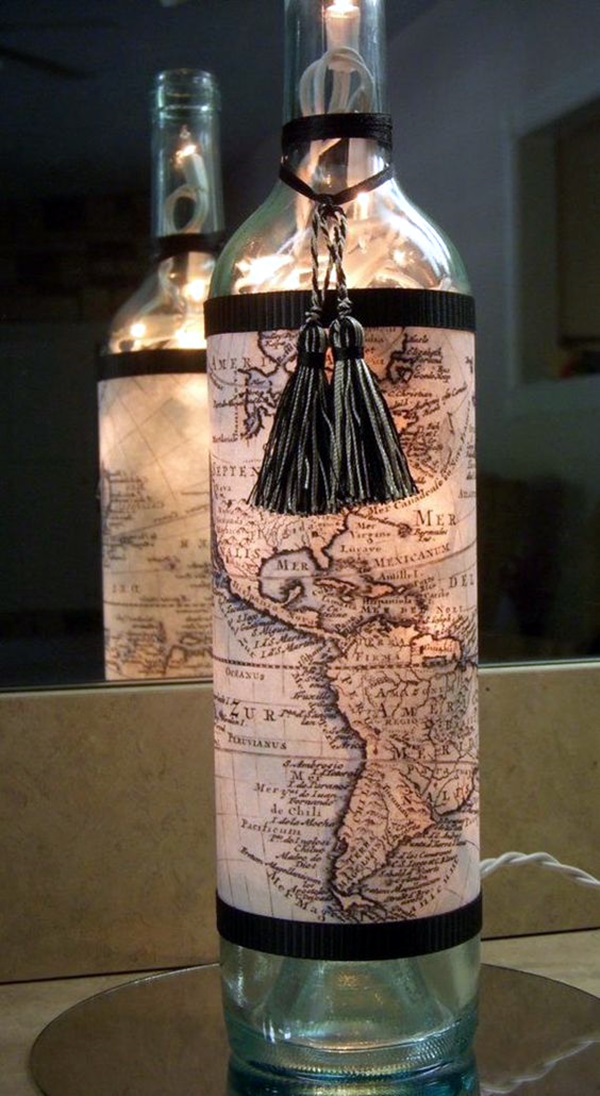
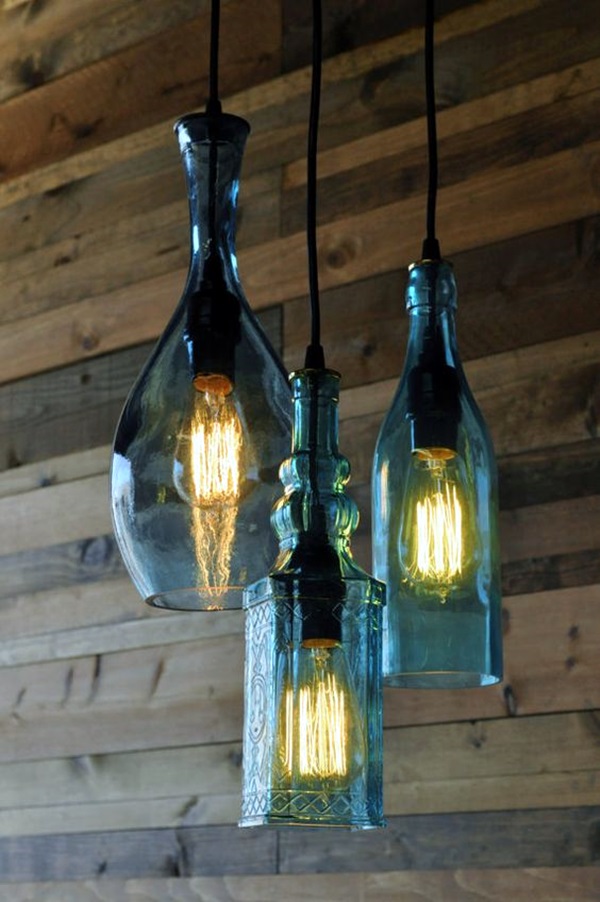
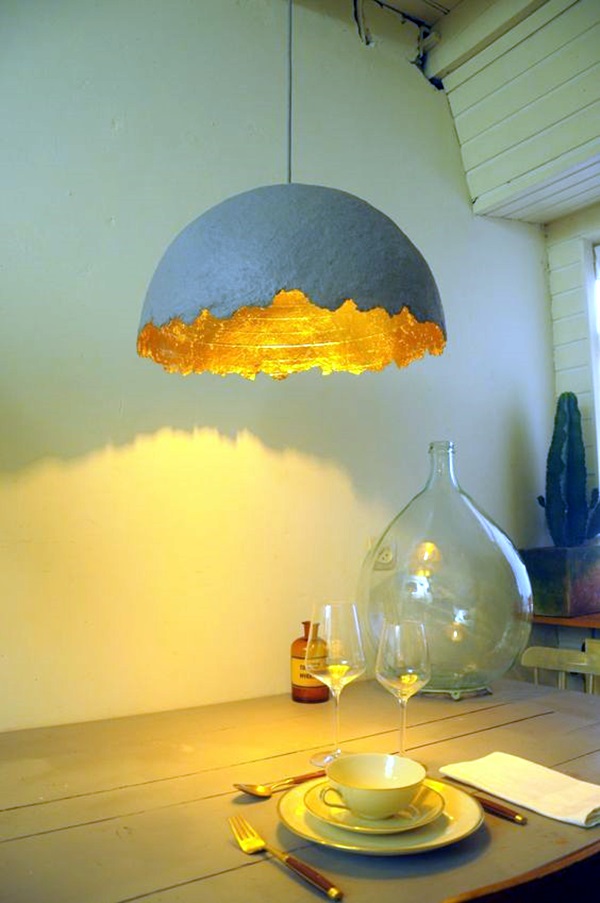
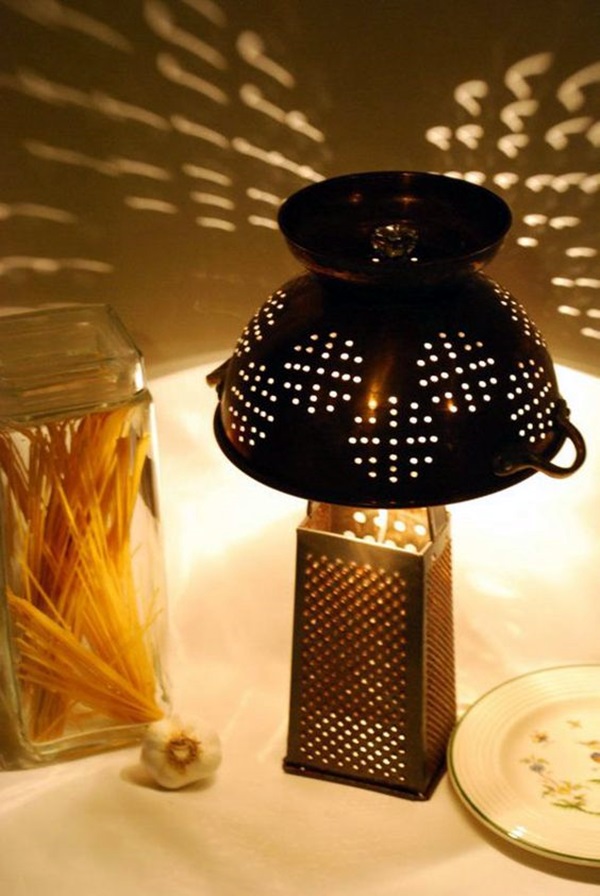
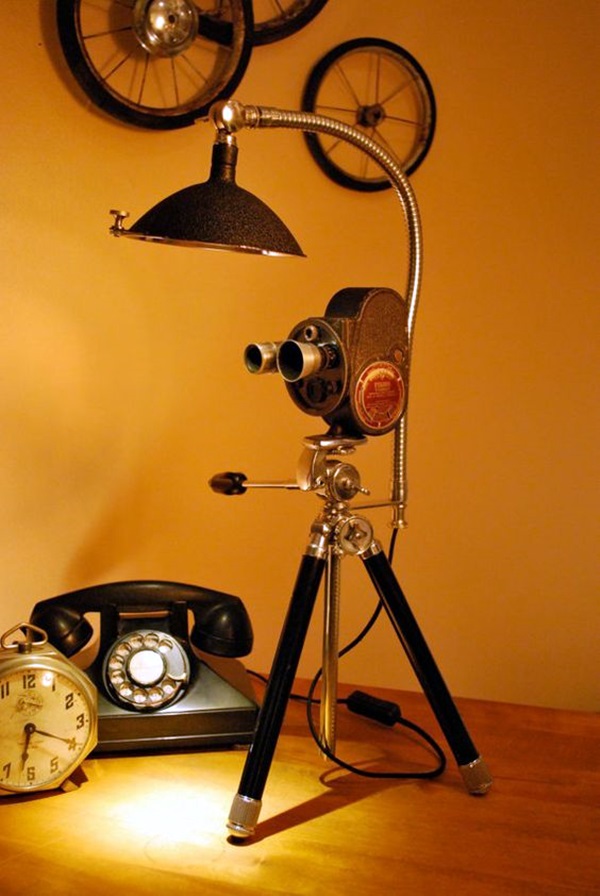
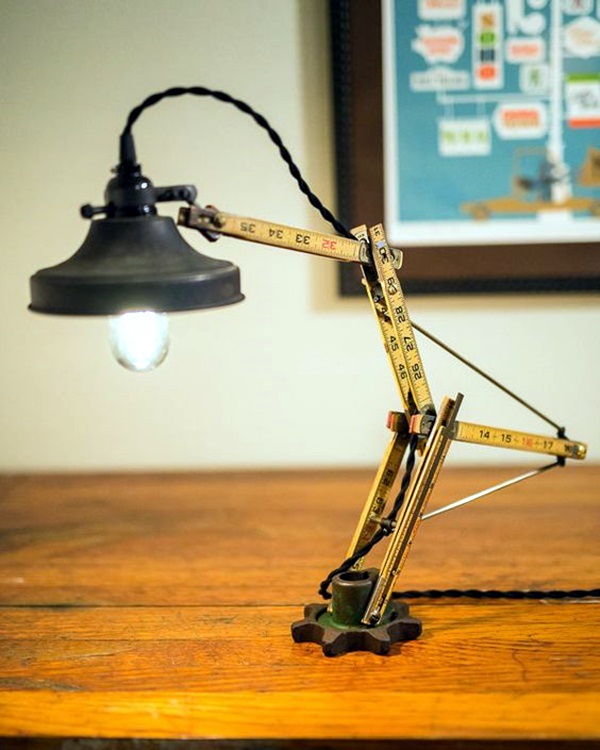
We know that are some traditional ideas for making lamps from recycled materials like old bottles or bamboo baskets, but in this article we are going to go beyond that. We ask you to step out of such mundane ideas and concepts and think beyond like the colander that you have in your kitchen for straining vegetables and pasta. Yes, even colanders can be pressed to do double duty as a lamp shade. What about the humble table fan? You can simply replace the blades with bulbs to make for a cute and unique lamp that will add charm to any room.

Recycled Lamps That Are Border Line Genius (4)
Recycled Lamps That Are Border Line Genius (5)
Recycled Lamps That Are Border Line Genius (28)
Recycled Lamps That Are Border Line Genius (29)
Recycled Lamps That Are Border Line Genius (30)
Recycled Lamps That Are Border Line Genius (31)
Recycled Lamps That Are Border Line Genius (32)
Recycled Lamps That Are Border Line Genius (27)
Recycled Lamps That Are Border Line Genius (33)
Recycled Lamps That Are Border Line Genius (34)

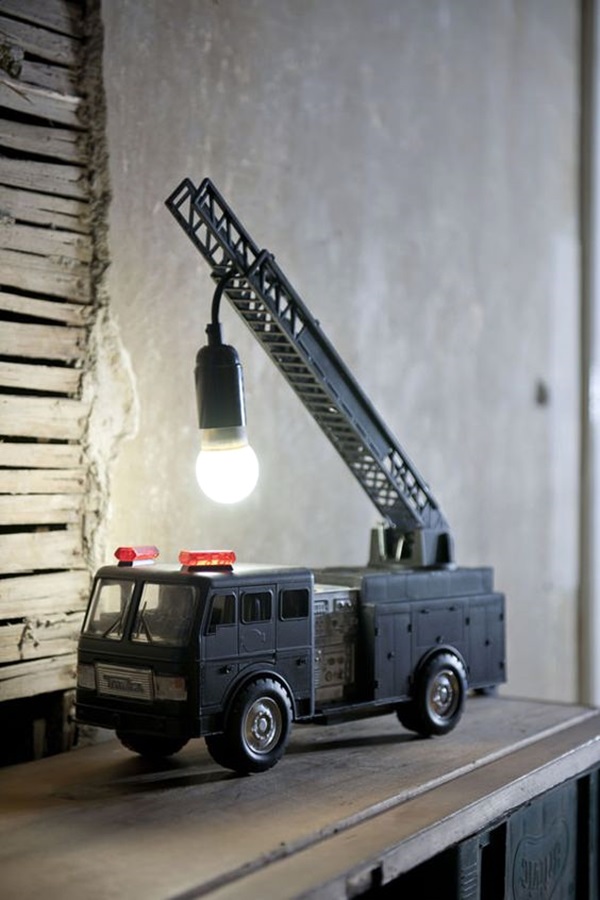
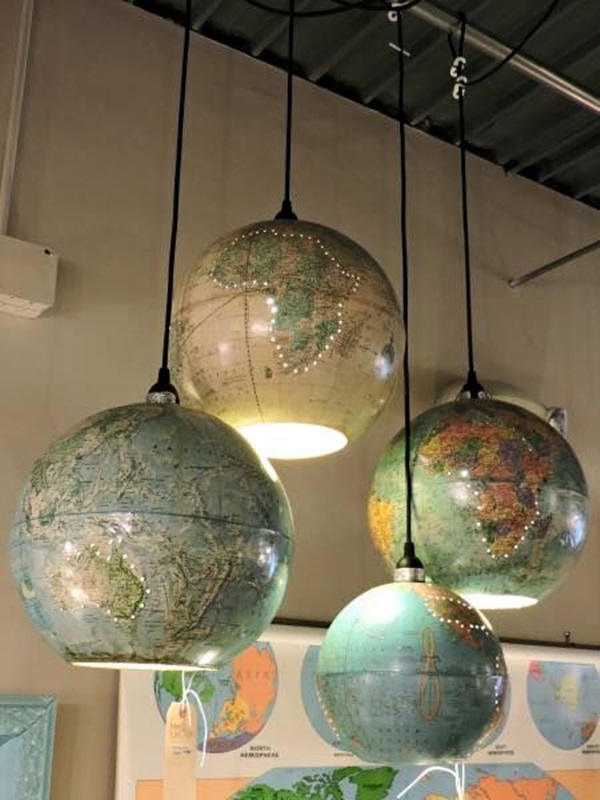
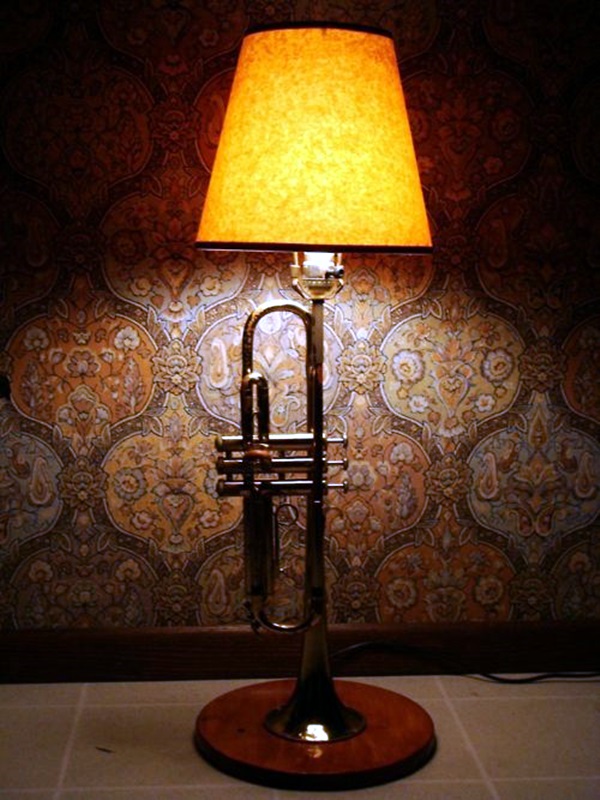
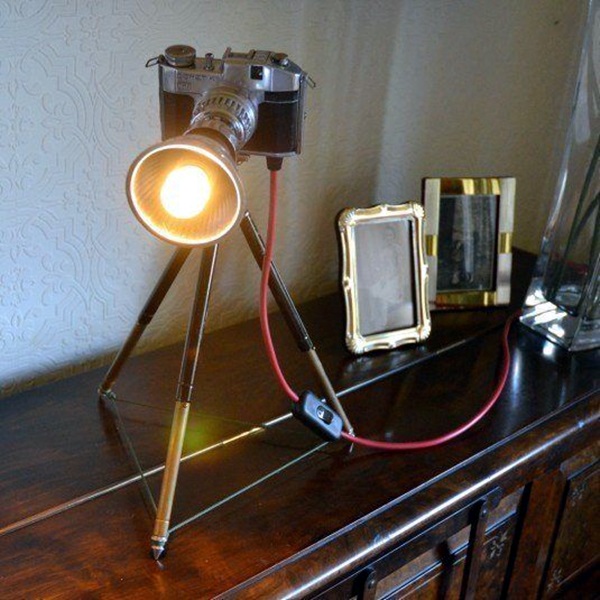
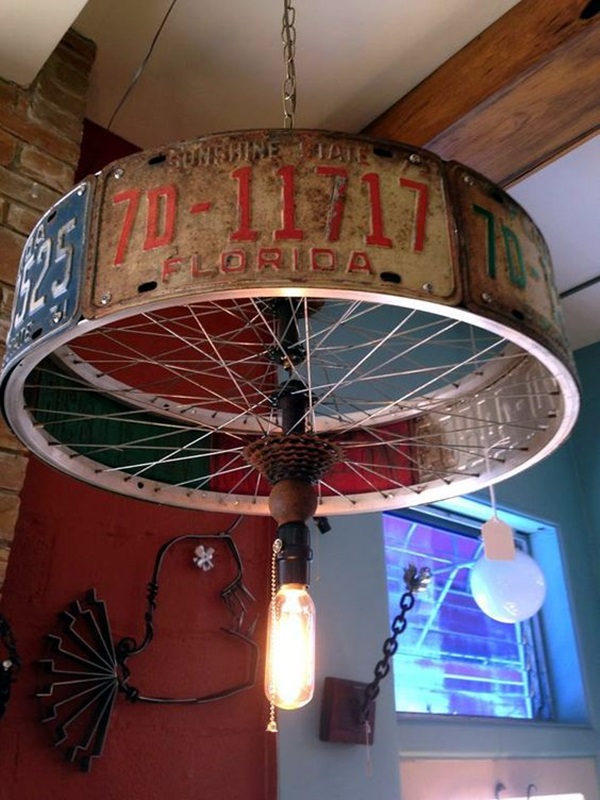
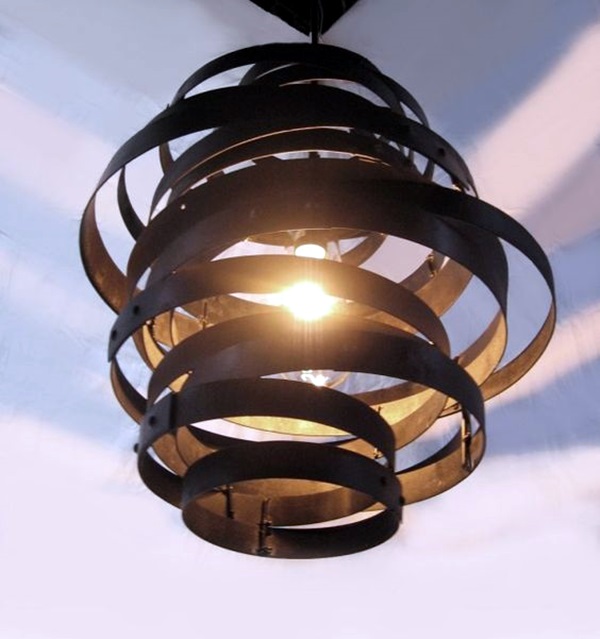
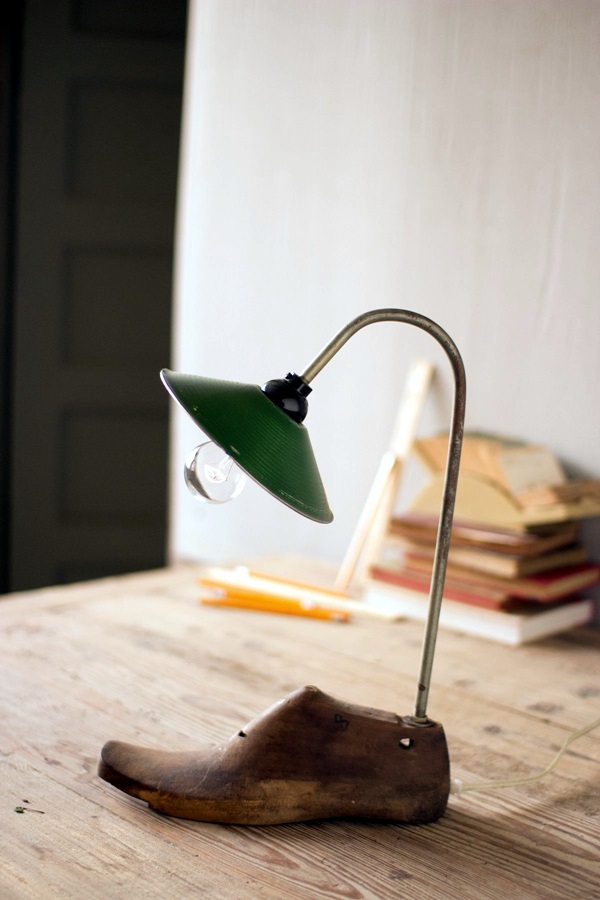
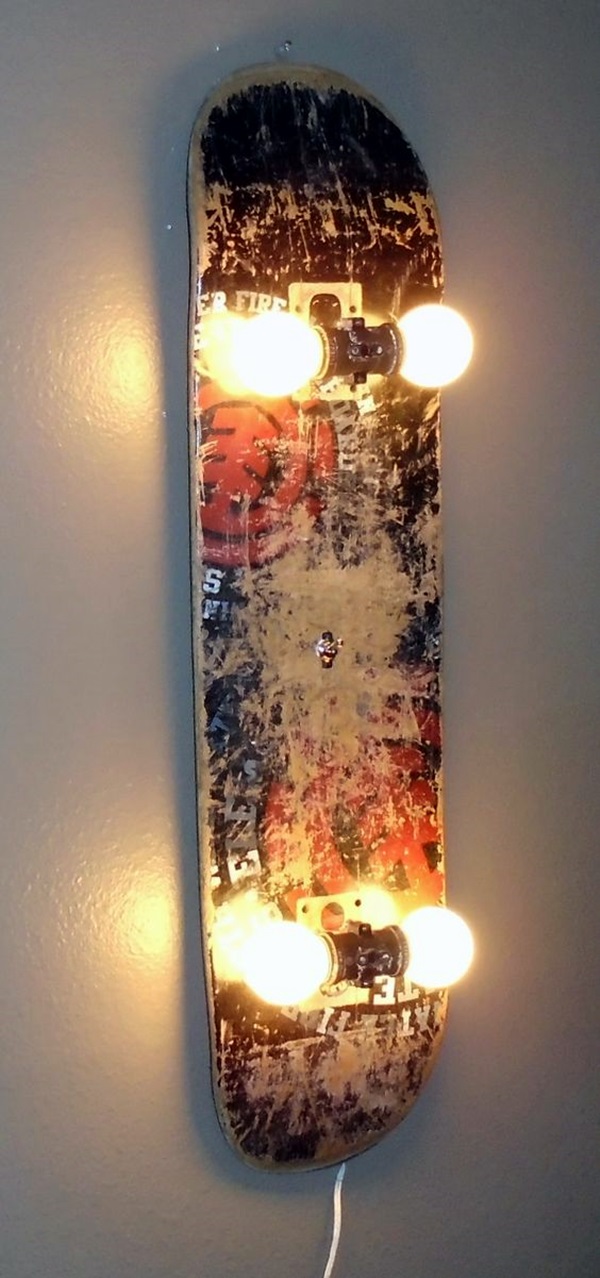
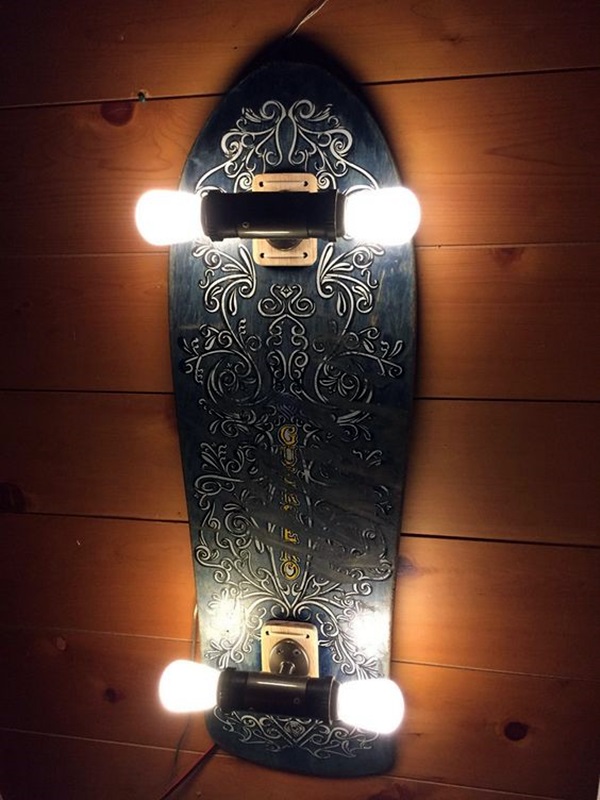
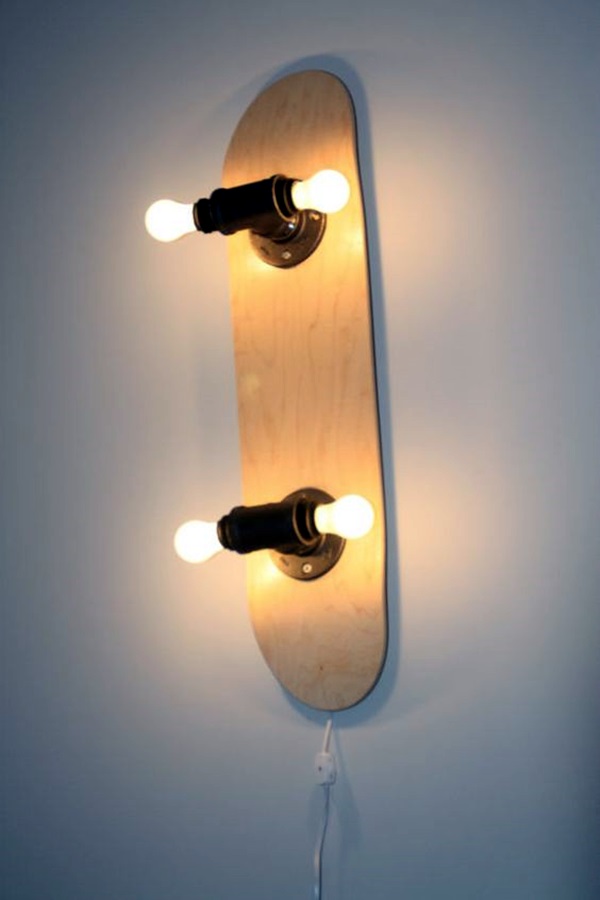
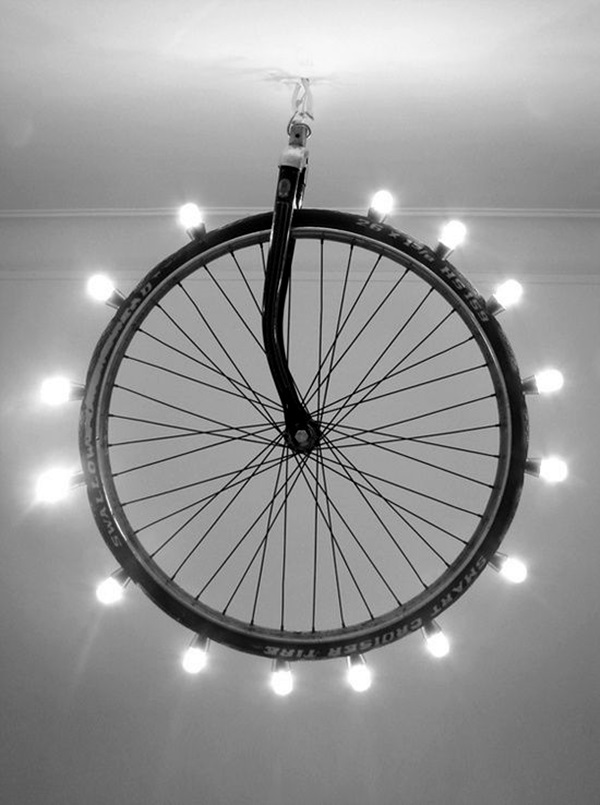
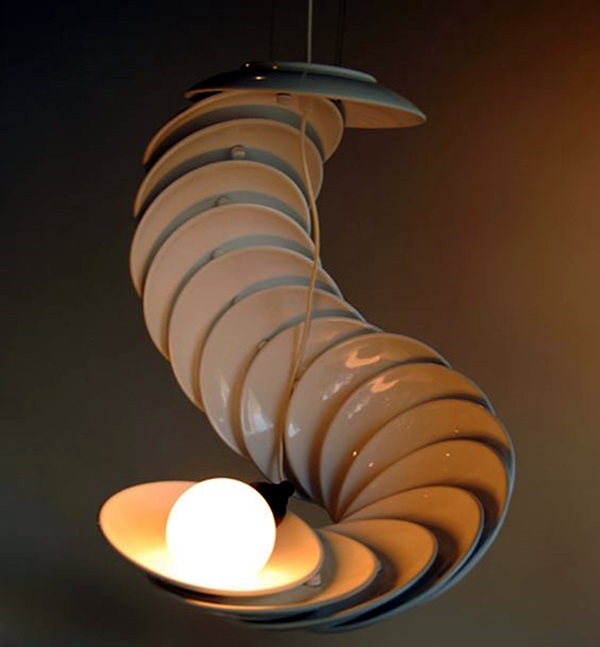
Even skateboards can be made into a unique lamp for those who love this sport and have access to old boards that you no longer use. How about that bicycle wheel? This too can make a charming lamp that will remind you of the Ferris wheel that one sees on the fairground. Even something as simple and mundane as teacups and saucers can be made into lamps that will have people exclaiming over the cuteness and simplicity but also the astounding beauty this lamp gives.

Recycled Lamps That Are Border Line Genius (1)
Recycled Lamps That Are Border Line Genius (2)
Recycled Lamps That Are Border Line Genius (3)
Recycled Lamps That Are Border Line Genius (35)
Recycled Lamps That Are Border Line Genius (36)
Recycled Lamps That Are Border Line Genius (37)
Recycled Lamps That Are Border Line Genius (38)
Recycled Lamps That Are Border Line Genius (39)
Recycled Lamps That Are Border Line Genius (40)
Recycled Lamps That Are Border Line Genius (6)

We are sure that by now you are looking at each and every recycled material in your home from a completely different point of view. But before you do, we would like to reiterate that you will have to learn about electrical connections, wiring and use of bulbs so that you can make lamps that are so unique and full of genius but also absolutely safe.

Original article and pictures take http://www.boredart.com/2016/09/recycled-lamps-that-are-border-line-genius.html site

суббота, 31 марта 2018 г.

Root Cellar

We decided that our little farm needed a root cellar to store our produce in. For those unfamiliar with the term, a root cellar is an underground room that acts like a natural refrigerator, maintaining temperatures in the mid 30's F in the winter and mid 50's in the summer.
Step one: Dig a hole in the ground. We are fortunate to have a local gravedigger who is a real artist with a backhoe. He can carve a hole with straight sides almost within an inch of what you ask for.

Step two, pour a concrete footer. Then start laying blocks. About 320 went into this 8 x 8 foot cellar.

Almost finished here. Now, for the fun part, pouring a concrete roof. A simple flat slab wouldn't do, for you want condensation to run off to the sides. So, I created a plywood from with an arched top. The arch would also create a stronger roof. It also created a very strong form.

I built the form in the shop, then dismantled it.
The arches are 1/2 inch plywood pressed into dadoed grooves in the 2x4's. This created an extremely strong structure.

Satisfied with the form I reassembled it on the root cellar walls.

A nice snug fit, supported by 3 vertical 2x4's on each side. (Not shown in the picture are 8 pieces of 1/2" plywood approximately 6" x 23". These were installed after the plywood sheets were added. They are used as extra reinforcing ribs by wedging them between the plywood sheets and the top of the 2x4's.) Next, the plywood, a sheet of plastic and lots of 1/2 rebar. Lots of rebar. Rebar is cheap, so why not? If this were a flat 4 inch slab, the calculated load rating is around 250 pounds/square foot. More then enough. But it is arched, and up to 5 inches thick. Also the rebar extends into the walls a foot, and are cemented in place. Not sure what the load rating is now, but it is certainly more than adequate.

18 half inch rebars on 8 inch centers. Strong enough!
Next, add a perimeter to the form and pour concrete. About 4,000 pounds worth. I expected at least a little deformation of my form, for all that weight was being borne by my 5 arches, but there was none! Impressive.
Not taking any chances, I did not enter the cellar until I was confident the concrete was fully cured.
Removing the form from inside was not difficult, for it was designed for easy disassembly and re-use.

A view of the top before the entrance was completed and the cellar covered with 2 feet of earth. The wood at the rear is covering the ends of the rebar to prevent injury. They will be part of the reinforcement for the entrance-way.
I poured the roof in 3 sections, for that is the most concrete I can handle working alone. The seams are nearly invisible from below, and are waterproof. It was not difficult creating the arch in the top using standard concrete. The radius of the top arch is about 6 inches larger than below.

The arched ceiling is as glossy as a counter top, thanks to the plastic sheet I laid over the plywood.
See light reflecting off ceiling in picture below left.

Below Right: Add stairs and doors at top and bottom, and you have a fine root cellar, ready for lots of fruits and vegetables. Currently we are storing apples, carrots and potatoes, and we are pleased with the results.
One of the two 4 inch vents can be seen in the corner. The other is in the opposite corner.

To save labor and materials, I built the stairway with half of it on a foundation at the floor level, and the other half of the foundation just below the frost line. I felt that digging the entire stairwell to the floor level would have just created a large inaccessible space.

This project took a few months of evenings after work over the summer. It was cooler then, and the mortar did not dry too fast. All concrete and mortar, about 8,000 pounds in all, was either mixed with a small mixer, or by hand.

Here is a drawing of the block layout. In order to center my stairwell, I had to cut some blocks into two pieces, a 12 inch piece, and a 4 inch piece. That is because my interior width is 88 inches. If you make your width 96 inches, you will not have to do this. A wet tile saw cuts through concrete blocks with ease. I have used mine to cut many blocks, including the angled pieces that form the arched tops of the walls. Since the saw can only cut about 1/2 inch deep, you make a cut on each side. The blocks will easily split then by driving a chisel into the cut. Make gentle taps, while moving the chisel along the cut and they will break cleanly. You can see how good the cuts are in the pictures of the walls before the roof was poured.

Here is a picture of a very similar cellar. He used a higher arch, which is something I would do if I had to do it all over again, for condensation does not readily run to the sides of my flatter arch. He was very conservative and used 28 vertical supports. I used only 6. His roof weighed 5,000 pounds wet vs. my 4,000 pounds, therefore his supports were holding only 250 pounds each, while mine were holding 670 pounds. However, his ceiling was much higher than mine, and his 96 inch supports would be more prone to bending under the load than my 65 inch supports. His wood arches are on 16 inch centers, while mine are on 24 inch centers. However, I have a "backbone" made from a 2x4 running along the top, and 2 rows of plywood rectangles fitted in between my wood arches. He tarred his sides, I did not. To tar or not is determined by how wet your ground is. For more info see: http://campfire.theoildrum.com/node/5596

Other topics that I have that may be of interest:

A solar hot water heater. This has performed far beyond my expectations, even in winter. If you can find a used system, like I did, it will pay for itself in only a few years.

Rion Greenhouse. An easy to assemble greenhouse kit that has proven to be durable in high winds and heavy snow. It is now 5 year sold, and has held up well.

Insulating and finishing the interior of a pole barn garage/workshop. How I gave my pole barn a nice insulated interior in a budget.

Original article and pictures take http://robertsprojects.blogspot.com/2010/02/root-cellar.html?m=1 site